How do I create a carousel campaign?
Bring premium social experiences to the feed of the open web, amplifying your strategy outside of walled gardens with a rich, multi-image format that features CTA buttons, brand logo, and more!
You can use Carousel to tell your brand story, showcase multiple products, and build a sequential message — with up to 10 images for consumers to swipe through.
It’s as simple as selecting the new “Carousel” creative format option when creating a campaign.
How to Set up a Carousel Campaign
For a quick tutorial on how to create a Carousel campaign, feel free to watch this video, or continue reading for more information!
Just as you set up any other campaign, start by selecting “Add Campaign” in the top right-hand corner.
- Add Campaign

- Select your campaign objective.
- For a full explanation of campaign objectives and how they work, visit this Help Center article.
- Once you’ve selected your campaign objective, you’ll be prompted to select your creative format, either “Single” or “Carousel.”
- Select “Carousel” on the right-hand side.

- Next, enter your CPC. Please note that the minimum CPC for Carousel campaigns is $0.40, though we recommend starting with a higher CPC between $0.50 and $0.60.
- You’ll then be prompted to enter your budget and all other corresponding campaign targeting options, in the same way you do for standard Amplify campaigns. If you need a refresher on setting up a campaign, you can visit the Campaign Set-up Help Center article.
- When you’ve completed each step of the campaign set up, click “Next: Content” to build your Carousel unit.

- You’ll be brought to the Content Creation screen, where you can build the individual cards (or ads) that will go within your Carousel unit.
- You can create these cards in the same way that you create standard Amplify content: enter the URL, site name, title, and image you would like for each individual card.
- Please note that a minimum of 3 cards is required within a Carousel

- You can also add a CTA button for each card, using the predefined list of options in the dropdown.
- Available CTA button options include: Apply Now, Book Now, Contact Us, Download, Learn More, Get Quote, Shop Now, Sign Up, Watch More, Listen Now, Subscribe, RSVP, Register Now, Install App, Read more, Play Game, Donate Now, Order Now, Join Now
CTA buttons are supported in 10 languages! Including: English, French, German, Hebrew, Italian, Japanese, Portuguese, Spanish, Dutch, Swedish.
- The creative specifications for individual Carousel cards are consistent with standard Amplify specifications, with one very notable difference: images should be uploaded with a 1:1 ratio.
- GIFS are supported up to 1200px
- Individual Carousel card headlines can be a maximum of 100 characters, but we recommend 60 characters.
- Card images can be a maximum of 1200px, but with a 1:1 image ratio. Images will display as 300x300px.
- You can use different URLs for each Carousel card (to drive to multiple landing pages, content, and offers).
- Carousel units require a minimum of 3 cards and can have a maximum of 10 cards.
- Only left-to-right languages are currently supported for Carousel.
- Add all of the cards you would like to fit within your Carousel.
- You should avoid duplicating images — use unique imagery and wording to spark engagement.
- Once you’ve added all of your Carousel cards, click “Next: Carousel” to define the elements of your overall Carousel unit.

- Enter your brand name under “Sponsored By” (maximum 50 characters).
- Then enter the title you would like to appear next to your brand logo, at the top of the Carousel unit. We recommend 60-65 characters for Carousel unit titles as well as individual card titles.
- Upload your brand logo, which needs to be formatted in a 1:1 image ratio — between 40×40 and 400x400px.
- Finally, select the order in which you would like your cards to appear within the Carousel unit. You can easily drag and drop the cards you’ve just created from the side-bar panel into the “Cards Order” box to define the order in which they’ll appear as consumers swipe.
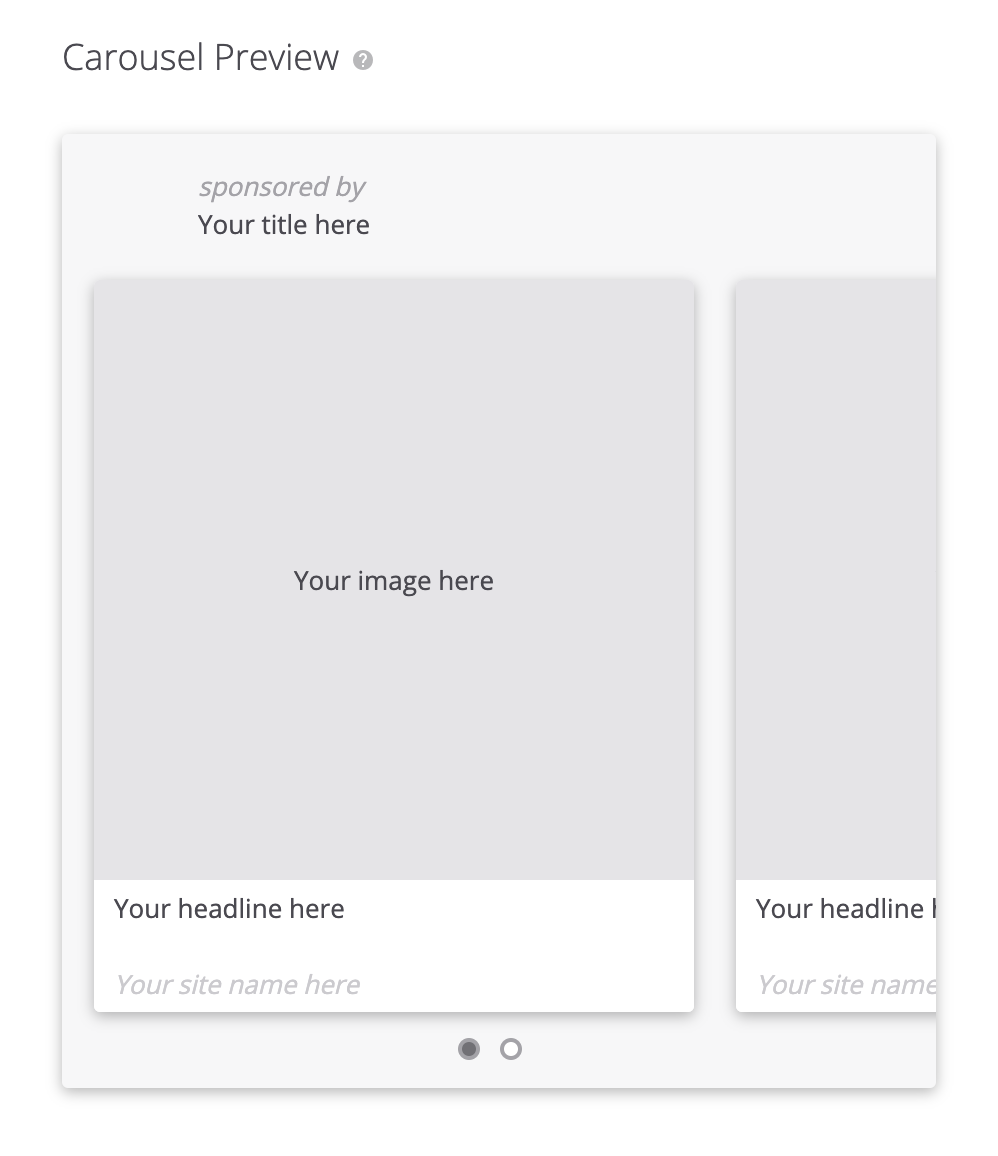
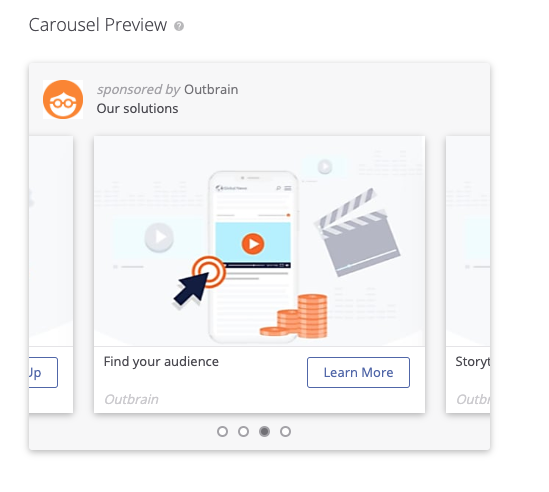
- As you fill out these fields and drag and drop your cards, you’ll see a preview of your Carousel in the right-hand preview pane!


- After you’ve completed all of the required fields and are happy with how your Carousel unit appears in preview mode, you can click “ Create Carousel” in the bottom right-hand corner.
- Your Carousel unit is now complete and ready for approval by our Content Team!
What’s Next?
- Your cards will either be “approved,” “rejected,” or “pending” if edits are required.
- If any of your Carousel cards require an edit, simply click the pencil next to the title.

- Remember, you cannot edit cards once they have been approved. You can, however, change the order of the cards at any time by re-arranging them in the “Cards Order” section of the Carousel Creation screen.
Reporting
Reporting by overall Carousel unit
- Carousel reporting includes the same stats as you’d normally review for your standard campaign content: Metrics such as spend, impressions, clicks, CTR, conversions, and more are all available for Carousel campaigns.
- Carousel reports can be filtered, exported and scheduled.
- Reporting by individual Carousel card
- You can also click the drop-down and select reporting “By Card” to see a more granular view of how the individual cards within your Carousel perform.
- Tip: Rearrange your Carousel cards to put the highest-performing cards first!

- By card reporting includes stats specific to each card such as clicks, conversions, and more.
- The card report can be filtered, exported and scheduled.
Important to Note
- You can only create and use one Carousel ad unit per campaign.
- Outbrain’s Shopify implementation works in the same way for Carousel that it does for our standard native format. View our Shopify Help Center article to learn more.
- Carousel campaigns will not run until all of the ads within it are approved.
- You can only play and pause Carousel ad units at the Campaign level.